First: Lack of support from Mikey. I can just see him rolling his eyes at my new project. So, I have been trying to keep this monstrously huge "decoration" out of his way. Not easy. It's heavy!
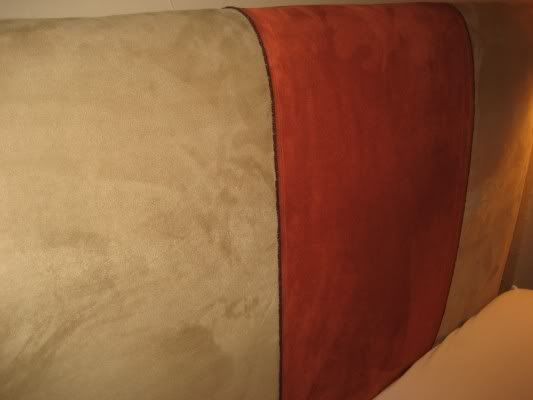
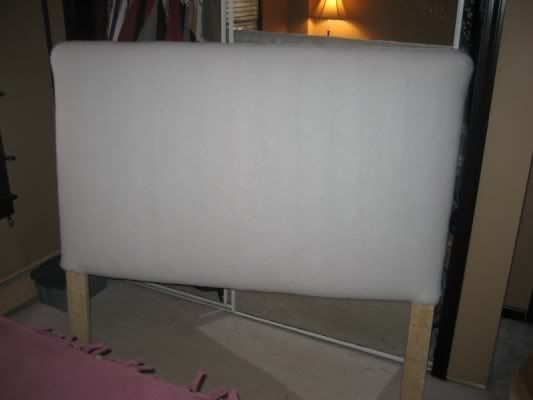
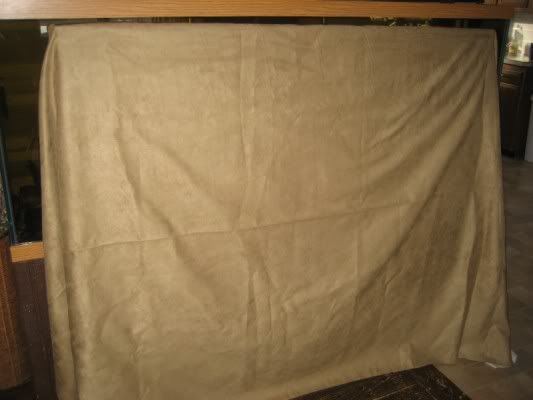
Second: I have finished putting on the foam batting and the first piece of fabric, a nice camel colored suede. It looks really pretty. But, when I placed it behind the bed, against the wall, I realized that is is WAY too tall for our room. It would look great in a room with cathedral ceilings, but that is so not the closet that is our bedroom. ;) Since I made it to stand on two legs, all I have to do is lug it out from behind the bed, out to the effin cold garage, measure 4 inches off each leg, and use an old fashioned hand saw to shave off those dang inches.
Sounds, easy, right? Yet, it's still not done. I think it's the cold. No, definitely the weight of it. Ok, who am I kidding? I am terrified of cutting my own hand off with the stupid saw. There. I said it.
Third: The embellishments. I had planned on putting the first piece of fabric on and then putting another piece of burnt orange fabric as a wide stripe down the center. I was going to use upholstery tacks to secure the fabric in this spot...since I suck, and I can't sew. I thought it would be a brilliant and creative solution to the problem, and look great too!
Well, the foam batting was thicker than I expected - I put 3 layers on, so it gave the headboard a nice, puffy look. Which is not what I was expecting, but looks nice nonetheless. Now that it is kinda puffy, nailing in the upholstery tacks will make a little well where each one is going in, and that will be unacceptable if the orange fabric is not sewn to the brown. And the brown is already there, so no sewing now!
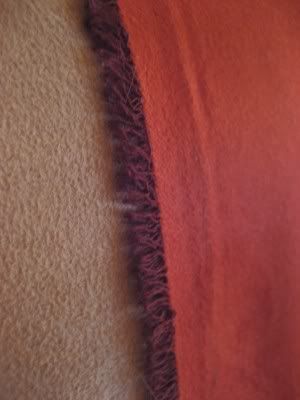
The other problem that I didn't anticipate is that the orange fabric has this really cool fringe on the edges. I loooove it. And to incorporate the fringe, 2 pieces have to be sewn together. And, as I mentioned before, I suck and don't sew. I wish I paid attention in Home Ec! *shaking my fist at myself in the mirror*
So, I have a plan.
The plan is to wait for my beautiful and wonderful and gracious Aunt Roey to come up to visit next week and beg, beg, beg her to sew this for me. She created a beautiful valance and crib decorations for the nursery last year (another post!), so I am hoping she will help us out again. She's awesome! Then, I will have to modify my upholstery tack idea again, since I really would love to incorporate them.
Here's the progress to this point...
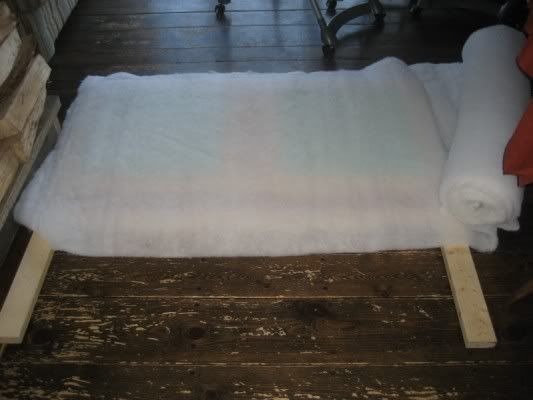
Measure and cut three layers of foam batting.
Secure each layer with staples. Lots of them.
Place the fabric, measure and cut to length.
Iron fabric. This part sucks. I hate ironing as it is. The dryer is my iron. Ever try ironing suede? It sticks. But it got done and I breathed a sigh of relief.
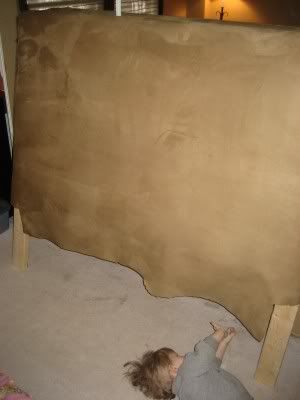
Secure first layer of fabric with staples. A lot of them. I started on top, in the middle and worked my way to the sides. Then I folded and secured the side corners. Smoothing out the fabric as I went down, I secured the rest of the sides. Then I pulled as hard as I could on the bottom and stapled that. Yep, that's Little B helping his mommy.
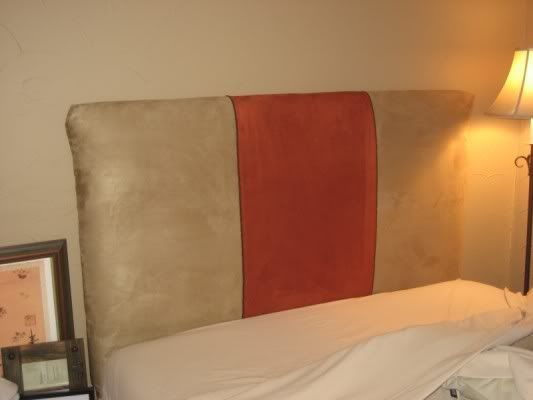
Then, I placed the headboard behind the bed. Yikes! And then, I tried to place the orange fabric. For now, it is staying with pure static cling!
That means this project is officially shelved for two weeks. But what is two weeks when it wasn't ever getting done before?! I can't wait.

That looks SO Good! I love the fabric you picked out! Maybe instead of sewing you could get fabric glue? I've never used it but I know Andrea made a complete skirt with it because she didn't sew either. Just a thought. But totally love how it's coming out!
ReplyDeleteBeautiful, wonderful & gracious Aunt Roey wonders if you have a sewing machine? I'll be glad to give it a shot--but it looks so spectacular now, that I'd hate it if I screwed it up!!!
ReplyDeleteI think it looks awesome! I would give the fabric glue a try. Or you could always call the wonderfully creative and knowledgeable people at JoAnn's for some suggestions. You've inspired me though to try and make one for my room. Did you or will you attach it to the wall? If so, how will you do it?
ReplyDeleteLadies, I do think I might just try that fabric glue after the orange pieces are sewn together, plus an upholstery tack at the top corners... maybe. ;) I guess I won't know about the tacks until I try it!
ReplyDeleteAR, I DO have a sewing machine - it's Grandma Jane's old one - and DO NOT worry! You can't screw it up, it's just not possible for you. ;)
Amy, I made it with legs that go down to the floor so that they would hold up the majority of the weight and then I could screw the legs right into the wall. I still haven't done it yet because I have to chop it down a bit, but that will be my next post on this one!